Garden Mushroom Tutorial

I thought it would be fun to create some garden mushrooms. I took a few pictures when putting the mushrooms together, so I thought I would share them in a quick blog post.
One of the unique things about how these pieces are assembled is that the mushroom cap is removable from the stem. This makes them easier to pack and ship, and safer to handle when pushing the stem into the ground (I am always worried someone is going to put garden stakes into the ground by pushing on the glass rather than the stem and risk breaking the glass).
Materials
Fused and slumped glass for mushroom caps
GE Silicone II (clear)
3/4" PVC pipe
3/4" PVC pipe caps (5' length will be enough for several mushrooms)
Mushroom Caps
The mushroom caps were created by decorating & fusing two-layer glass circles and slumping them *upside down* into a Bullseye BE8746 small (~6 inch) ball mold. You can create your mushroom caps out of any color of glass and decorate how you would like. I decorated mine with small glass cabs and frit. Enamels or powders on clear glass would work nicely, too.
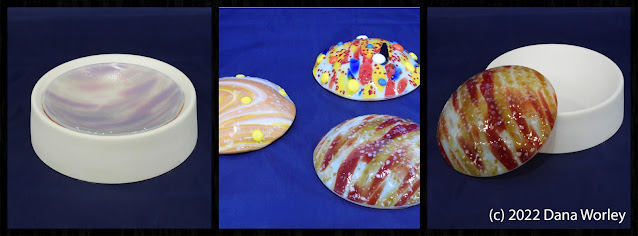
Once the caps are fused and slumped, use GE Silicone II to glue the 3/4" PVC pipe caps to the underside of the mushroom caps, and set aside to fully cure. At my local "big box" store, the PVC caps come in two versions. One version has a slightly domed top, which is what I used for the mushrooms. The flat top would work well, too. Note that silicone fully cures in approximately 24 hours.

Mushroom Stems
For the stems, I used a hand saw and miter box to cut the PVC pipe. I wanted my stems 8" in length, and I wanted them to have angled ends so they would go into the ground easier. To create two stems:
Measure and cut 16" of the PVC pipe. Use a straight cut.
Now, cut this 16" piece of pipe in half, using a 45 degree angle cut. This results in two stems and each stem will have one end that is angled.

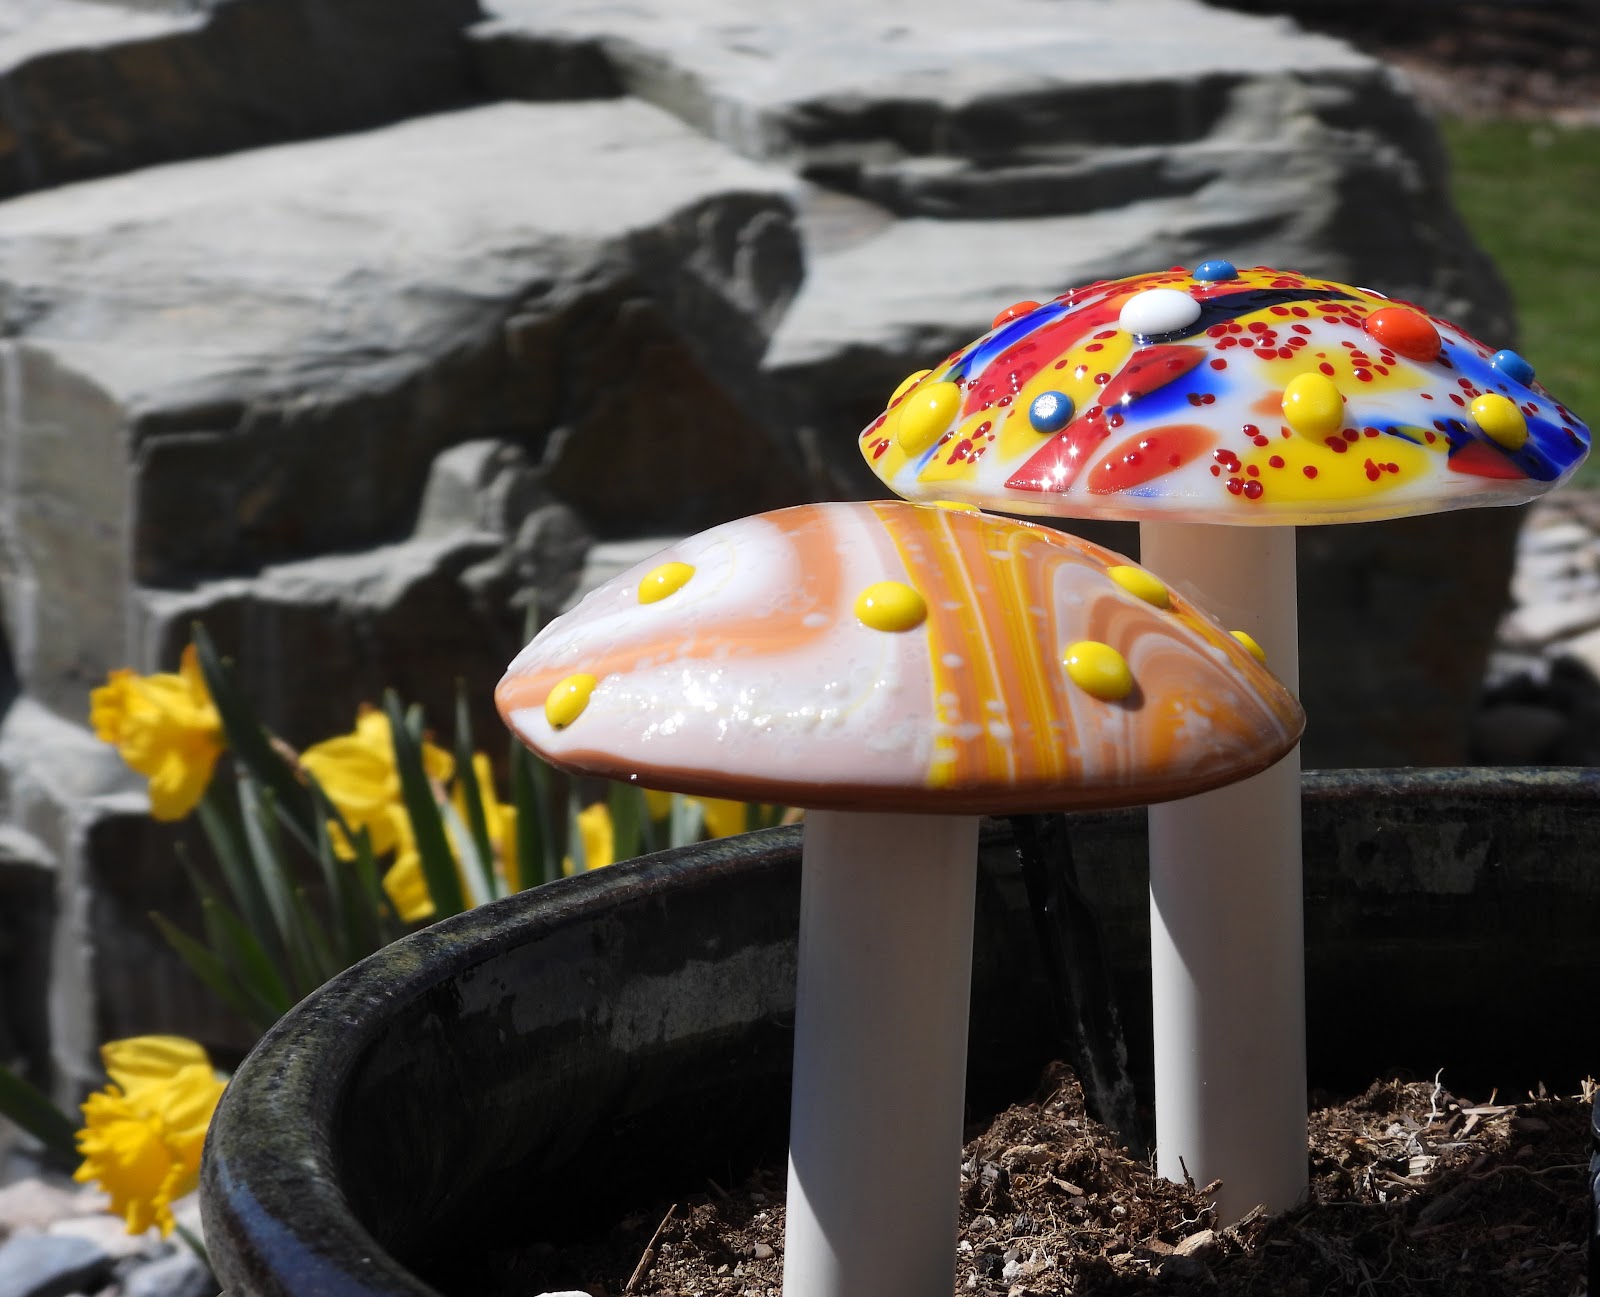
Mushroom Assembly
Once the silicone has cured, the mushrooms are easily assembled (and disassembled!) by simply pushing the flat end of the mushroom stem into the PVC cap attached to the glass.

If you prefer, you could use more silicone to glue the stem permanently to the cap. However, I like keeping the cap and stem unglued because they are easier to ship to a customer or transport to a show, and you can firmly push the stem into the ground without damaging the glass (or yourself, should the glass break). The only caveat is that anyone who handles the mushroom should be aware that the two pieces can be separated easily.
That's It!
Dana
(C) Copyright 2022 Dana Worley
This tutorial is copyrighted information. While it is provided free of charge for personal use, you may not reuse this material for the purposes of teaching a class, writing a book, or in any way redistributing the information to others. If you would like to share, please point others to this blog site.

