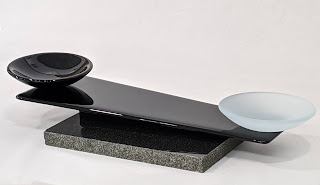
Holiday Candle Dish
 |
| Finished candle plate in green Fusers Reserve |
Following is a quick tutorial on how to create this simple but beautiful holiday gift item. The size of this plate means it requires minimal materials, and it is created with a single firing. This means that you can offer this piece at a reasonable cost for holiday shoppers or give one to all of the people on your holiday gift list!
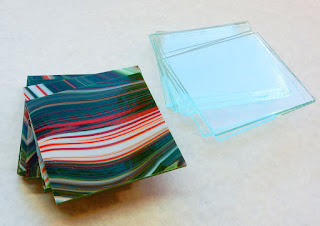 |
| 4" squares of Fusers Reserve green/red/white and clear |
Candle Plate Materials
- 4" square of colored glass (I've used Spectrum's Fuser Reserve in green/red/white and in red/white)
- 4" square of clear glass
- Clear coarse frit
- Medium frit in complementary colors
- Mica powder (I used bright gold)
- SuperSpray
- Rubber bump-ons
Directions
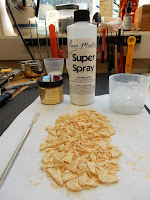 |
| Mica-coated frit |
Put some clear coarse frit in a container. Add a small amount of SuperSpray and then sprinkle in some mica powder. Mix well and spread the mica-coated frit on a paper towel to dry.
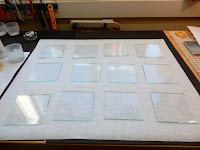 |
| Lay out squares of clear |
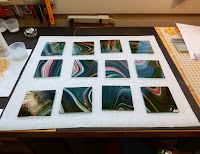
Arrange the 4" squares on a sheet of craft paper. The craft paper catches the frit and makes clean-up easier.
 |
| Top squares of clear with colored glass |
Top the squares of clear glass with the squares of the colored glass.
 |
| Sprinkle with frit |
Sprinkle on more clear coarse frit, and then the medium frits in complementary colors. Finally, sprinkle on some of the mica-coated frit. I tried to keep the centers of the candle plates relatively free of large frit pieces so that the candle will sit flatly in the middle.
 |
| Ready for firing |
The squares are now ready for firing.
Place the pieces on a kiln shelf prepared with kiln-wash or shelf paper, and fire to a contour fuse. I used the following schedule in my kiln; you may need to adjust for your kiln. Note that this kiln-load had a few larger pieces (8x12"). The bubble squeeze hold and longer annealing hold reflect this.

 |
| Add bump-ons and sign the back |
 |
| Close-up of the glass |
After the pieces were fired and cooled, I cleaned them and used a diamond hand-pad to smooth any stray frit from the edges. I finished them by signing and adding rubber bump-ons to the back.
Keep in mind when cleaning that some of the frit edges could be sharp! You can smooth any sharp points with a small diamond file or hand-pad, but be careful not to mar the finish of the plate.
 |
| Finished candle plate in red fusers reserve |
For the Winter Gift Market and co-op gallery, I plan to wrap the plate along with a small candle, in clear cellophane to create a "grab and go" gift item for market shoppers.
I hope this short tutorial inspires your creativity for the holiday season. If you have questions or comments, leave a note in the comments below.
Happy Holidays!
Dana
Learn More!
Want to learn more about fusing? Check out Bullseye Glass Educational Videos (click on the banner below)

