Cutting Glass Circles
 |
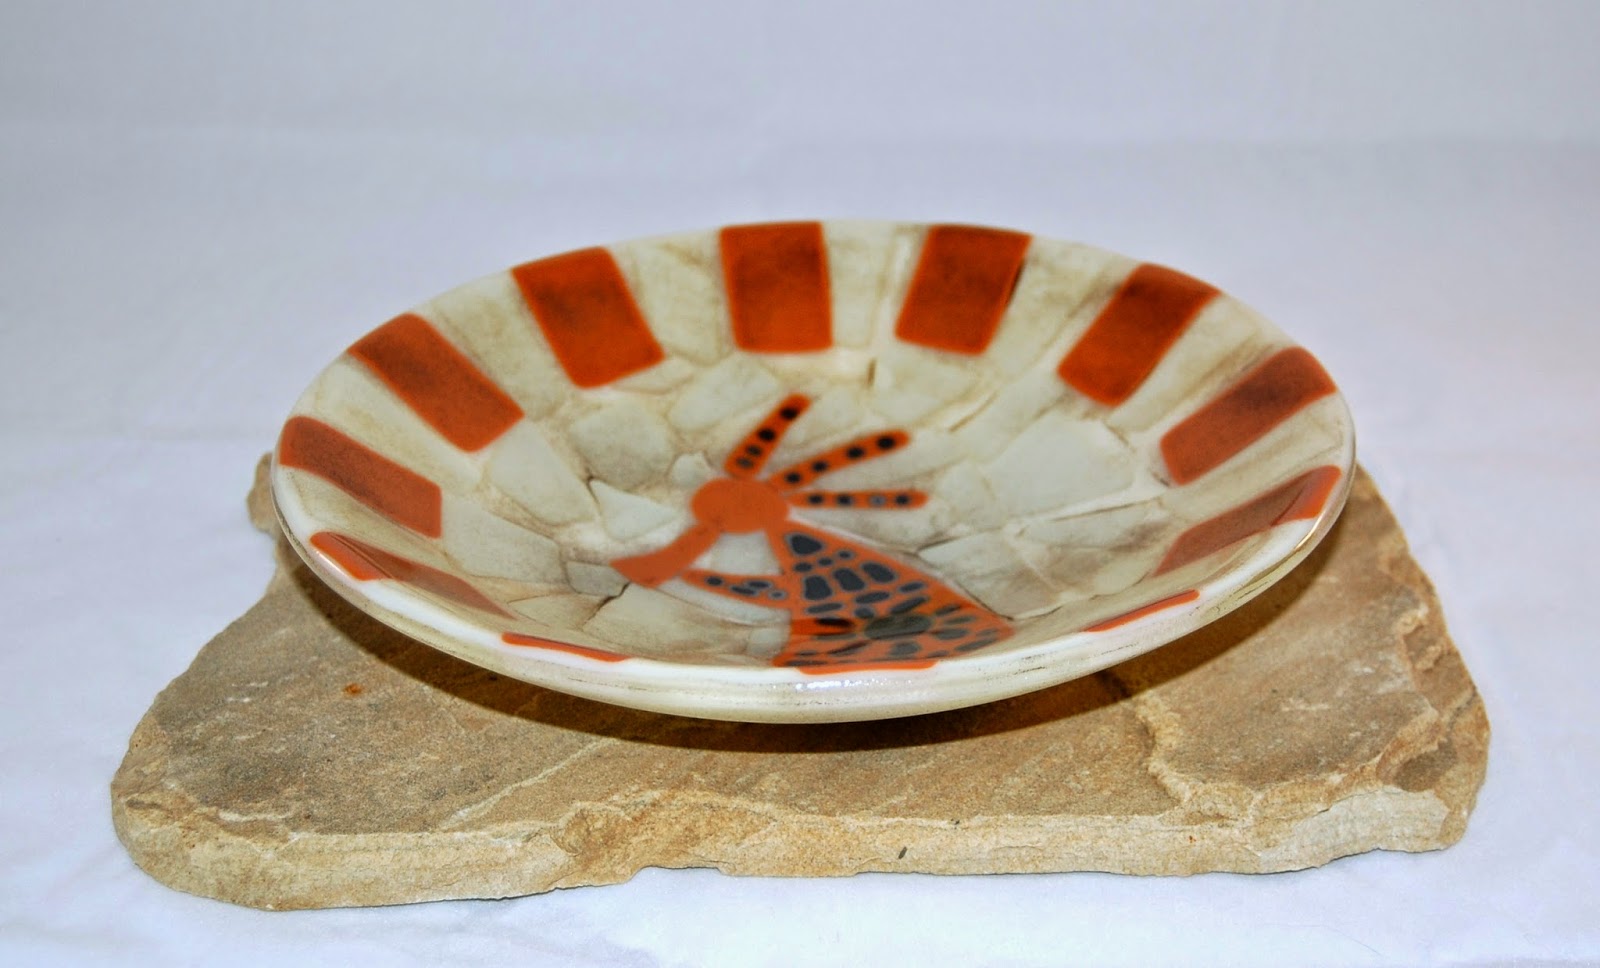
| Kokopelli Bowl |
I quite often see the question asked of how to successfully cut circles. The glass manufacturer, Spectrum Glass, has an excellent tutorial on their web site featuring Patty Gray on how to cut rims and circles. Some people, however, still struggle with using this method, especially on opal glass. I'll admit that I'm a little squeamish about running my bare fingers along the back of a score line. It just seems like a Bad Idea and a sure road to Band-Aids. I am rarely successful running the score using the opposite end of my running pliers or cutter. I guess it is my squeamishness and inability to use tools that led me to a slightly different method for cutting circles.
First, start with a good circle cutter. I absolutely LOVE my Bohle Silberschnitt cutter. I joke with my husband (who's German), that every time I use it I want to kiss a German. You can certainly cut circles freehand, but to easily cut precision circles that require no clean-up of edges, a circle cutter is the way to go (and Silberschnitt makes some of the best). Also, I think my method of cutting circles works best with Ringstar running pliers, since you can put the little "bump" of the pliers directly under the score to run it, and, at any angle (I love my Silberschnitt running pliers, but for running circles, I prefer the Ringstars).
 |
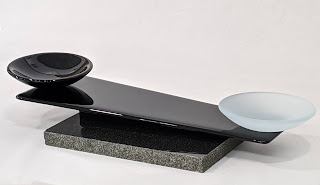
| Black & white fusers reserve bowl |
Consider the size of the circle that you want to cut, and cut a square of glass that is approximately 0.5 to 1 inch larger than your circle on all four sides. If you want a 10 inch circle, cut the glass about 11 to 11.5 inches square. The trick to the size of the square is that you want the distance from the edge of the glass to the score line to be narrow enough that you can reach the score line with your running pliers, but not so narrow that the score runs to the outside edge of the glass when running the score (sounds complicated, but you'll get the idea once you cut a few).
The old saying goes that a picture is worth a thousand words, so here's the step-by-step instructions, with a picture.
- Cut your glass square to size.
- Score the circle.
- Score and cut off all four corners (red lines). This is so when you begin to run the score, you'll be able to reach it with your running pliers all the way round the circle.
- Start someplace on the circle and run the score using your running pliers. Use gentle pressure. You can see how far the score runs with each "squeeze" of the pliers. Start your next "squeeze" at the end of the score where it stopped running. Run all the way around the circle.
- Now, make the relief scores (green lines) around the outside edge. Carefully run them from the outside edge to the edge of the circle. Again, use gentle pressure and watch the score line. Stop running just as it gets to the edge of the scored circle (you don't want to run so far/press so hard that the score runs into the glass and breaks the circle).
- Work your way around the circle, running the relief scores. Often the glass will start falling away from the circle after you run the first couple of relief scores. Occasionally, however, you may need to use your grozers to grab the glass and break it away from the circle.
When I was taking a glass class once, one of the instructor's assistants was watching me cut circles. She said, "That is not how you cut circles!". I replied, "It may not be how you cut circles, but it is how I cut circles!"
Now go cut some perfect circles!
Dana
 |
| Blue, white, and yellow strip construction bowl |
 |
| Confetti glass bowl |
 |
| River rock reaction bowl |
Resources:
Spectrum's Circle & Rim Cutting Tutorial http://www.system96.com/pages/circledemo/circle1.html
Bullseye has a free tutorial on cutting glass http://www.bullseyeglass.com/education/glass-cutting.html
Bullseye River Rock reaction technique (the green & brown bowl uses an adaptation of this technique) http://www.bullseyeglass.com/methods-ideas/river-rock-reaction.html
Bullseye offers additional videos by subscription - check them out! (well worth the small annual fee, IMO)


